 Save
Save The first time I made sweet potato fries, I was skeptical. How could something so simple compete with the crispy golden fries from my favorite diner? But when they came out of the oven, those caramelized edges changed everything. Now they are the most requested side in my house, especially on cozy autumn evenings when the sweet aroma fills the kitchen.
Last winter, I served these at a dinner party alongside homemade burgers. My friend Sarah, who claimed to hate sweet potatoes, went back for thirds. She actually asked for the recipe before she even finished her plate. There is something magical about how a simple vegetable can become the star of the meal when you treat it right.
Ingredients
- Sweet Potatoes: Choose firm, heavy ones without bruises or soft spots. The weight indicates moisture content, which helps achieve that perfect tender inside.
- Olive Oil: This is essential for crisping. Do not skimp here, but do not drown them either. Just enough to coat lightly.
- Sea Salt: Coarse salt adheres better and provides those perfect salty bursts that balance the sweetness.
- Smoked Paprika: This adds a subtle smoky depth that makes people wonder what your secret ingredient is.
- Garlic Powder: Use this instead of fresh garlic here. It distributes evenly and will not burn in the high heat.
Tired of Takeout? 🥡
Get 10 meals you can make faster than delivery arrives. Seriously.
One email. No spam. Unsubscribe anytime.
Instructions
- Heat Things Up:
- Preheat your oven to 220°C (425°F) and line a large baking sheet with parchment paper. The high heat is crucial for getting those edges crispy and golden.
- Prep Your Potatoes:
- Cut the sweet potatoes into evenly sized fries, about 1 cm (1/2 inch) thick. Uniform pieces mean they all cook at the same rate, so you do not end up with some burnt and some underdone.
- Season Well:
- Place the fries in a large bowl and add olive oil, salt, pepper, smoked paprika, and garlic powder. Use your hands to toss everything together, ensuring each fry gets coated in that flavorful oil mixture.
- Arrange for Success:
- Spread the fries in a single layer on your prepared baking sheet. This step is worth taking your time with. If they are crowded, they will steam instead of crisp.
- The Flip:
- Bake for 15 minutes, then flip each fry carefully. Return to the oven for another 15 minutes until golden and crisp at the edges.
- Finish and Serve:
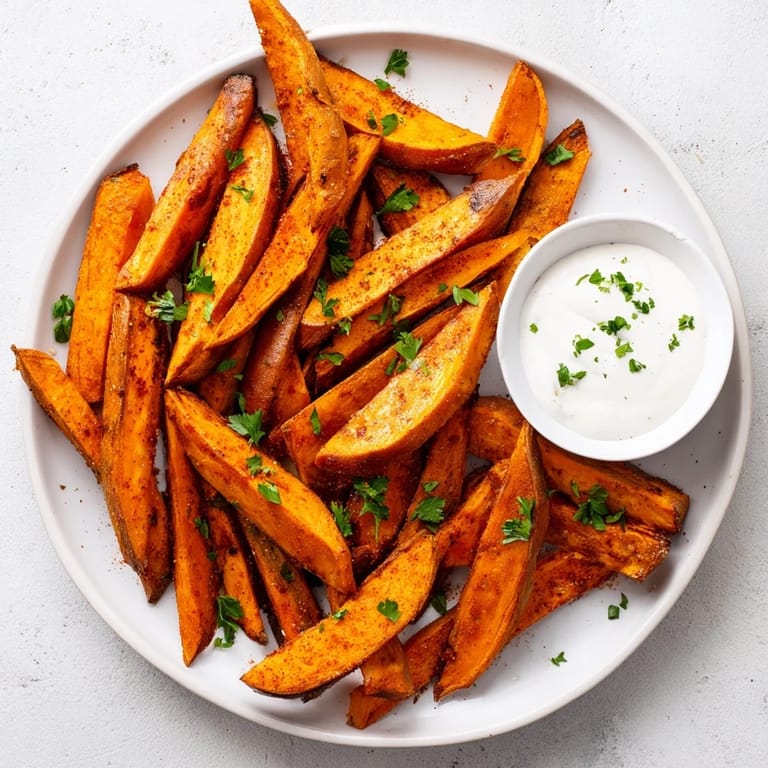
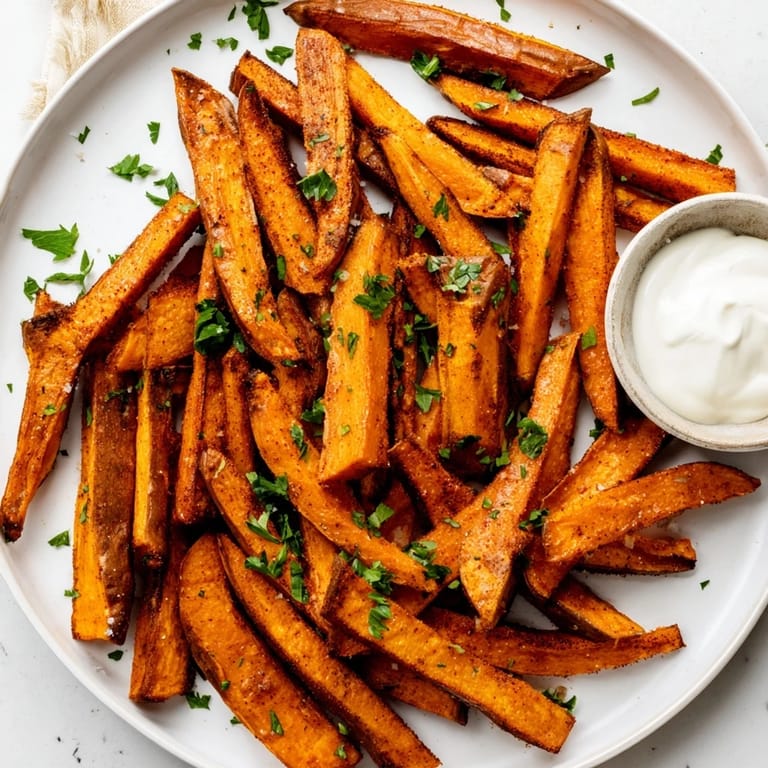
- Remove from the oven and sprinkle with fresh chopped parsley if desired. Serve immediately while they are at their crispest.
 Save
Save These fries have become my go-to comfort food. Something about pulling that hot tray from the oven, seeing those caramelized edges, and hearing the first satisfying crunch just makes everything feel right. They are not just a side dish anymore. They are the reason my family actually gets excited about vegetables.
Getting That Restaurant Style Crunch
The secret lies in not rushing the preparation. Taking those extra minutes to cut uniform pieces and arrange them properly on the baking sheet pays off enormously. I learned this after years of ending up with soggy fries that looked nothing like the pictures.
Seasoning Variations That Work
While the classic version is perfect on its own, sometimes I like to switch things up. Chili powder and cumin give them a southwestern flair, while fresh rosemary and garlic make them feel more upscale. The beauty is that the base technique never changes.
Making Them Your Own
Do not be afraid to adjust the seasonings based on what you are serving them with. Sometimes I go heavier on the garlic powder, other times I skip the paprika entirely and use fresh herbs after baking. The technique stays solid while the flavors adapt to your meal.
- Double the batch because they disappear faster than you expect.
- Let them cool for just 2 minutes after baking. This helps them set slightly for better crunch.
- Season with flaky sea salt right when they come out of the oven for maximum flavor impact.
 Save
Save There is something deeply satisfying about transforming humble sweet potatoes into something so crave-worthy. Whether for a weeknight dinner or a weekend gathering, these fries always bring smiles to the table.
Recipe FAQs
- → How do I get my sweet potato fries crispy?
Soak cut fries in cold water for 30 minutes to remove excess starch, then dry thoroughly before tossing with oil and seasonings. Arrange in a single layer without overcrowding the baking sheet, and flip halfway through baking for even crispiness.
- → What temperature works best for oven-baked sweet potato fries?
Preheat your oven to 220°C (425°F) for optimal results. This high heat creates crispy edges while keeping the inside tender. Lower temperatures may result in soggy fries that lack the desired crunch.
- → Can I make these fries in an air fryer?
Yes, air frying works beautifully. Cook at 200°C (400°F) for 12-15 minutes, shaking the basket halfway through. You may need to work in batches to avoid overcrowding, which prevents proper crisping.
- → What dipping sauces pair well with sweet potato fries?
These fries complement creamy aioli, classic ketchup, or tangy sriracha mayo. For a lighter option, try Greek yogurt mixed with herbs and lemon. The natural sweetness also pairs beautifully with spicy dipping sauces.
- → How thick should I cut the sweet potatoes?
Aim for uniform strips about 1 cm (1/2 inch) thick. Consistent sizing ensures even cooking, so thinner pieces don't burn while thicker ones remain undercooked. A sharp knife makes clean, even cuts easier to achieve.
- → Can I prepare these fries ahead of time?
Cut and soak the fries up to 4 hours before cooking, storing them in water in the refrigerator. Drain and dry thoroughly before seasoning and baking. For best texture, serve immediately after baking while they're at their crispest.