 Save
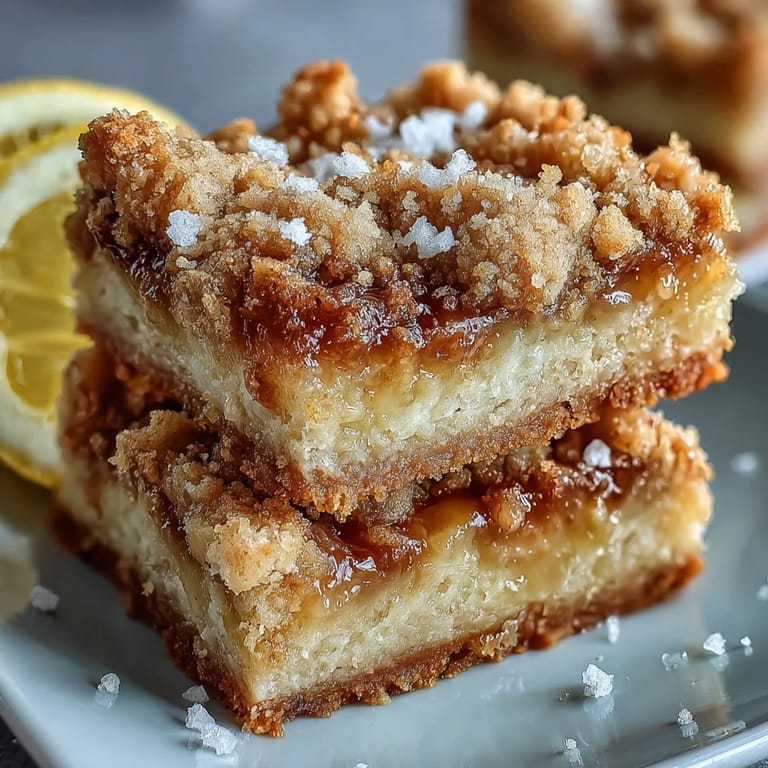
Save My kitchen smelled like a lemon grove the afternoon I slid these bars into the oven for a neighbor's last-minute picnic. I'd been skeptical about whether the crumbs would stay put or sink into the filling, but when I pulled them out, golden and fragrant, I knew I'd stumbled onto something special. The balance between tart and sweet, between crisp topping and creamy center, felt like summer distilled into a single bite. I wrapped them in parchment and watched them disappear within minutes at the park. That's when I realized these weren't just bars, they were conversation starters.
I made a double batch for my daughter's bake sale, and a mom I barely knew asked if I'd consider selling them at the farmers market. The thought hadn't crossed my mind, but her enthusiasm stuck with me. She said her kids fought over the last piece in the car ride home, and she'd hidden one in the back of her fridge for herself. That image, of someone savoring a quiet moment with a dessert I made, still makes me smile whenever I press that crumb crust into the pan.
Ingredients
- All-purpose flour: This forms the tender base and topping, giving structure without weighing down the crumb or the filling.
- Granulated sugar: Sweetens both the crust and the lemon layer, balancing the tartness so each bite feels bright but never puckering.
- Baking powder: A small amount in both the crust and filling helps create lift and a soft, cake-like texture in the lemon layer.
- Salt: Just a pinch sharpens all the flavors and keeps the sweetness from becoming one-dimensional.
- Unsalted butter: Melted and stirred into the crumbs, it creates that golden, crumbly topping that's impossible to resist.
- Large eggs: They bind the lemon filling and give it a custard-like richness that sets beautifully in the oven.
- Fresh lemon juice: The star of the show, bringing that unmistakable tang that makes these bars so refreshing and alive.
- Lemon zest: This is where the aromatic oils live, adding deeper citrus flavor and a pop of color throughout the filling.
- Powdered sugar (optional): A light dusting before serving adds a touch of elegance and a hint of extra sweetness.
Tired of Takeout? 🥡
Get 10 meals you can make faster than delivery arrives. Seriously.
One email. No spam. Unsubscribe anytime.
Instructions
- Prep Your Pan:
- Preheat your oven to 350°F and grease or line your 9x9-inch pan with parchment paper so the bars lift out easily later. This step saves you from scraping stuck corners and makes slicing so much cleaner.
- Mix the Crumb Base:
- Whisk together the flour, sugar, baking powder, and salt in a medium bowl, then pour in the melted butter and stir until the mixture looks like damp sand. Reserve half a cup for the topping and press the rest firmly into the bottom of your pan.
- Bake the Crust:
- Slide the pan into the oven for 10 to 12 minutes until the edges just start to turn golden. This prebaking step keeps the crust from getting soggy once you add the filling.
- Whisk the Lemon Filling:
- While the crust bakes, whisk the eggs and sugar together in a large bowl until smooth, then add the lemon juice, zest, flour, baking powder, and salt. Make sure there are no lumps, the filling should pour like thin batter.
- Assemble and Top:
- Pour the lemon mixture over the hot crust as soon as it comes out of the oven, then sprinkle the reserved crumbs evenly across the top. The contrast between the creamy filling and those buttery bits is what makes every bite exciting.
- Bake Until Set:
- Return the pan to the oven and bake for 20 to 25 minutes, until the filling no longer jiggles in the center and the crumbs are lightly browned. Don't overbake or the filling can turn rubbery instead of tender.
- Cool and Chill:
- Let the bars cool in the pan for at least an hour at room temperature, then transfer to the fridge for another hour or more. This chilling time is essential for clean slicing and the best texture.
- Slice and Serve:
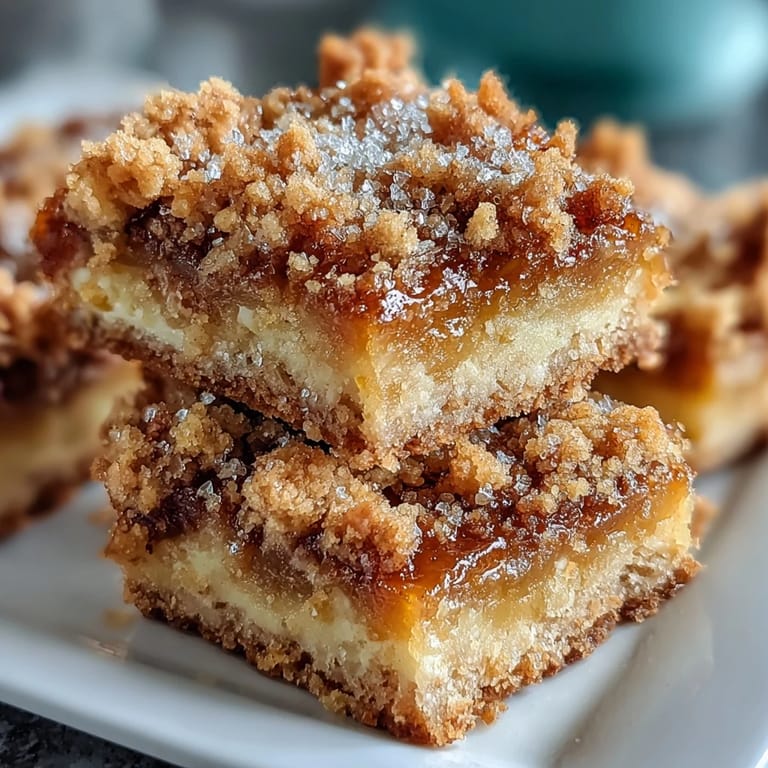
- Once fully chilled, lift the bars out using the parchment, slice into squares, and dust with powdered sugar if you like. Serve them cold for the most refreshing bite.
 Save
Save I brought these bars to a potluck where someone's aunt declared them better than her own lemon squares, and the table went quiet for a second before everyone laughed. She asked for the recipe, and I scribbled it on a napkin while she told me stories about her grandmother's orchard. That exchange, that generous moment of sharing over something I'd baked, reminded me why cooking for others feels so good. These bars became more than a dessert, they became a bridge between strangers and a reason to linger at the table a little longer.
How to Store and Serve
These bars keep beautifully in an airtight container in the fridge for up to a week, which makes them perfect for meal prep or make-ahead entertaining. I like to slice them all at once and stack them between layers of parchment paper so they don't stick together. Serve them straight from the fridge for a cool, refreshing treat, or let them sit at room temperature for ten minutes if you prefer a softer crumb. They pair wonderfully with hot tea, iced coffee, or a glass of chilled white wine on a warm evening.
Swaps and Substitutions
If you want to experiment, swap the lemon juice and zest for lime to create tangy lime bars with a tropical twist. You can also replace half the butter with coconut oil for a subtle coconut flavor that complements the citrus beautifully. For a gluten-free version, use a one-to-one gluten-free flour blend in both the crust and filling, just make sure it contains xanthan gum for structure. If you're out of fresh lemons, bottled juice will work in a pinch, but the flavor won't be quite as vibrant or fragrant.
Troubleshooting and Final Tips
If your filling turns out too runny, you likely didn't bake it long enough or skipped the chilling step, next time add a tablespoon of cornstarch to the filling mixture for extra insurance. If the crumb topping browns too quickly, tent the pan loosely with foil for the last few minutes of baking. Always check that your baking powder is fresh, expired leavening agents can result in a dense, flat filling that doesn't set properly.
- Press the crust firmly into the pan so it holds together and doesn't crumble when you slice the bars.
- Zest your lemons before juicing them, it's much easier to grate the peel when the fruit is still whole.
- Let the bars come to full room temperature before dusting with powdered sugar, or the sugar will dissolve into condensation and disappear.
 Save
Save Every time I pull these bars from the oven, that bright lemon scent fills the house and reminds me why simple recipes are often the best ones. They're proof that you don't need fancy ingredients or complicated techniques to make something people remember.
Recipe FAQs
- → How long should I chill the lemon bars before slicing?
Allow the bars to cool in the pan for at least 1 hour at room temperature, then refrigerate for 1 additional hour. This chilling period is essential for the filling to set completely, ensuring clean slices and a firm texture.
- → Can I use bottled lemon juice instead of fresh?
Fresh lemon juice provides the best flavor and natural acidity. Bottled juice may produce a flatter taste and could affect the setting of the filling due to differences in acidity levels.
- → How do I know when the filling is set?
The filling is set when the edges appear slightly puffy and the center no longer jiggles when you gently shake the pan. The top should be lightly golden with subtle browning around the edges.
- → Can I freeze these lemon crumb bars?
Yes, these freeze well for up to 3 months. Wrap individual bars tightly in plastic wrap and place in a freezer-safe container. Thaw overnight in the refrigerator before serving.
- → What can I substitute for the all-purpose flour?
A 1:1 gluten-free flour blend works well for a gluten-free version. For the filling, cornstarch can replace a portion of flour for an even silkier texture.
- → Why did my filling turn out runny?
Runny filling usually results from insufficient baking time or inadequate chilling. Ensure the bars bake until set and chill thoroughly before slicing. Adding 1 tablespoon cornstarch to the filling can also help.